Priming the Board
I have started to used a green mid tone acrylic as my starting surface instead of painting straight onto the white, this allows me to see the highlights better and makes for a more dramatic painting, so I started this one in the same way. Above you can see my boards primed. For this months MPC I cut my usual board size in half because I knew I would be pushing it to get the piece finished on time and I also had in mind to paint my other nephew in a similar pose down the track.
Sketching the image
Then using a graphite pencil I blocked in large areas of light and dark and did a general sketch to work out where the figure would sit in space. This is a kind of paint by numbers approach, but I find it helpful to work out things at this stage, previously I worked it out with paint and lots of painting over and re painting areas just a bit smaller or moving the whole subject to the left happened. This way it saves time and paint. Also working in oils, it is a lot harder to paint out areas, much easier to erase to reposition or change the image.
Laying out my paint
I work in a pretty limited palette, above are the colours I used for the 'In the Backyard' painting.
Laying out the Mediums
I use Liquin and Smooth Gel Medium to alter the paint and increase the drying time. I'm liking the
thickness and gloss the Smooth Gel Medium is giving the paint, it allows for a nice buttery finish. I'm also a big fan of Liquin,
it's a thinner medium that allows for transparent layers of colour with
the bonus of a fast drying time!
Mixing the skin tones
I then mixed up the skin tones in a light, medium and dark tone (with the dark I mix a warm and a cool).
Blocking in the Figure
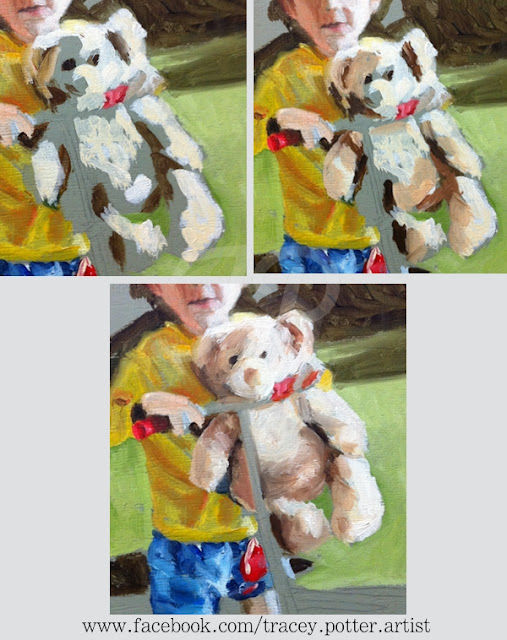
Using the round taklon hair brush (1.) I blocked in the light areas observing the photograph as I went. I then did the same thing for the dark and then the mid tones on the figure. Brushes 2. and 3.
(also taklon) were used for taking paint off and defining edges. I then tightened up and worked
more detail into the face, as seen in the circle above.
Mixing the Yellows and painting the Shirt
Following the same principal of mixing the light, dark and mid tones of the object, I blocked in the shirt, observing the photograph once again.
Painting the grass and sky.
It was then time to tackle the background, mostly to define the edge of the shirt, bear and face. I laid down a green, observing the edges and negative spaces shown in the photograph. I also took the opportunity to block in bits of blue in the sky.
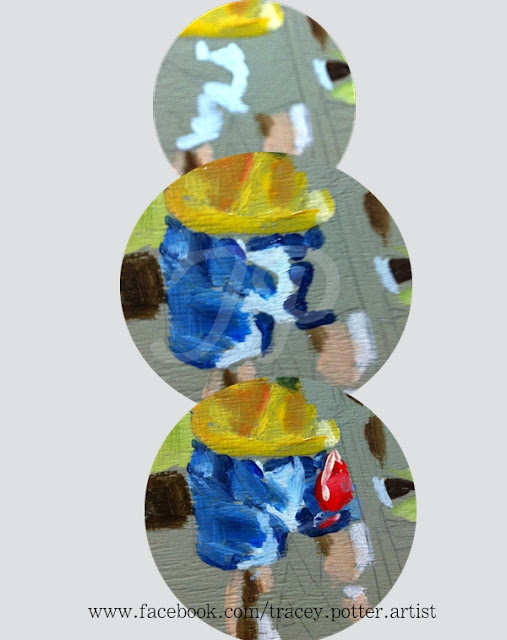
Painting the Shorts
Detailing the Teddy
I then worked up the teddy adding more detail with light, dark and mid tones, as before.
Detailing the Grass
Time to get out the scratchy brush! I added a layer of dark green over the grass
and scratched back into it with the synthetic hog hair brush (above), removing some of the paint for the blades of grass. Using the same green I then blocked in the general area of the trees, observing the photograph as I went. I didn't get a photograph of it, but I followed the same light, dark and mid principle with the pavement/pebbles, as seen above.
Detailing the face
I then added some more detailing in the background, observing the photo, but just blocking in a general indication of the trees. I then got out the finer (Taklon, round) brush for some detailing of the face. You can see my struggles below.
I pushed around paint constantly observing the shape, value and temperature of the face, I wanted to achieve a 'likeness'.


So cool. Thanks for sharing how you work! :)
ReplyDeleteThat is a great post Tracey and your process is fantastic. I think you are a natural teacher and I felt as though I learned a lot... not enough to pull out the oil paints, but enough to consider it!!!
ReplyDeleteThanks! I like to share what I know, so others can benefit from it too, like I have be bennifited from other artist who share their wisdom and knowledge.
ReplyDeleteGreat tutorial. I pinned it so I can go back to it when I have my art materials! Patsy from
ReplyDeleteHeARTworks